Add students by email from the Students tab, or share the class Invite link. Either way, each student must sign in to Dakota Labs with the same email address you entered for them.
Add students by email
-
Open the class and choose the Students tab.
-
Choose Add Student. The Import roster by email window opens.
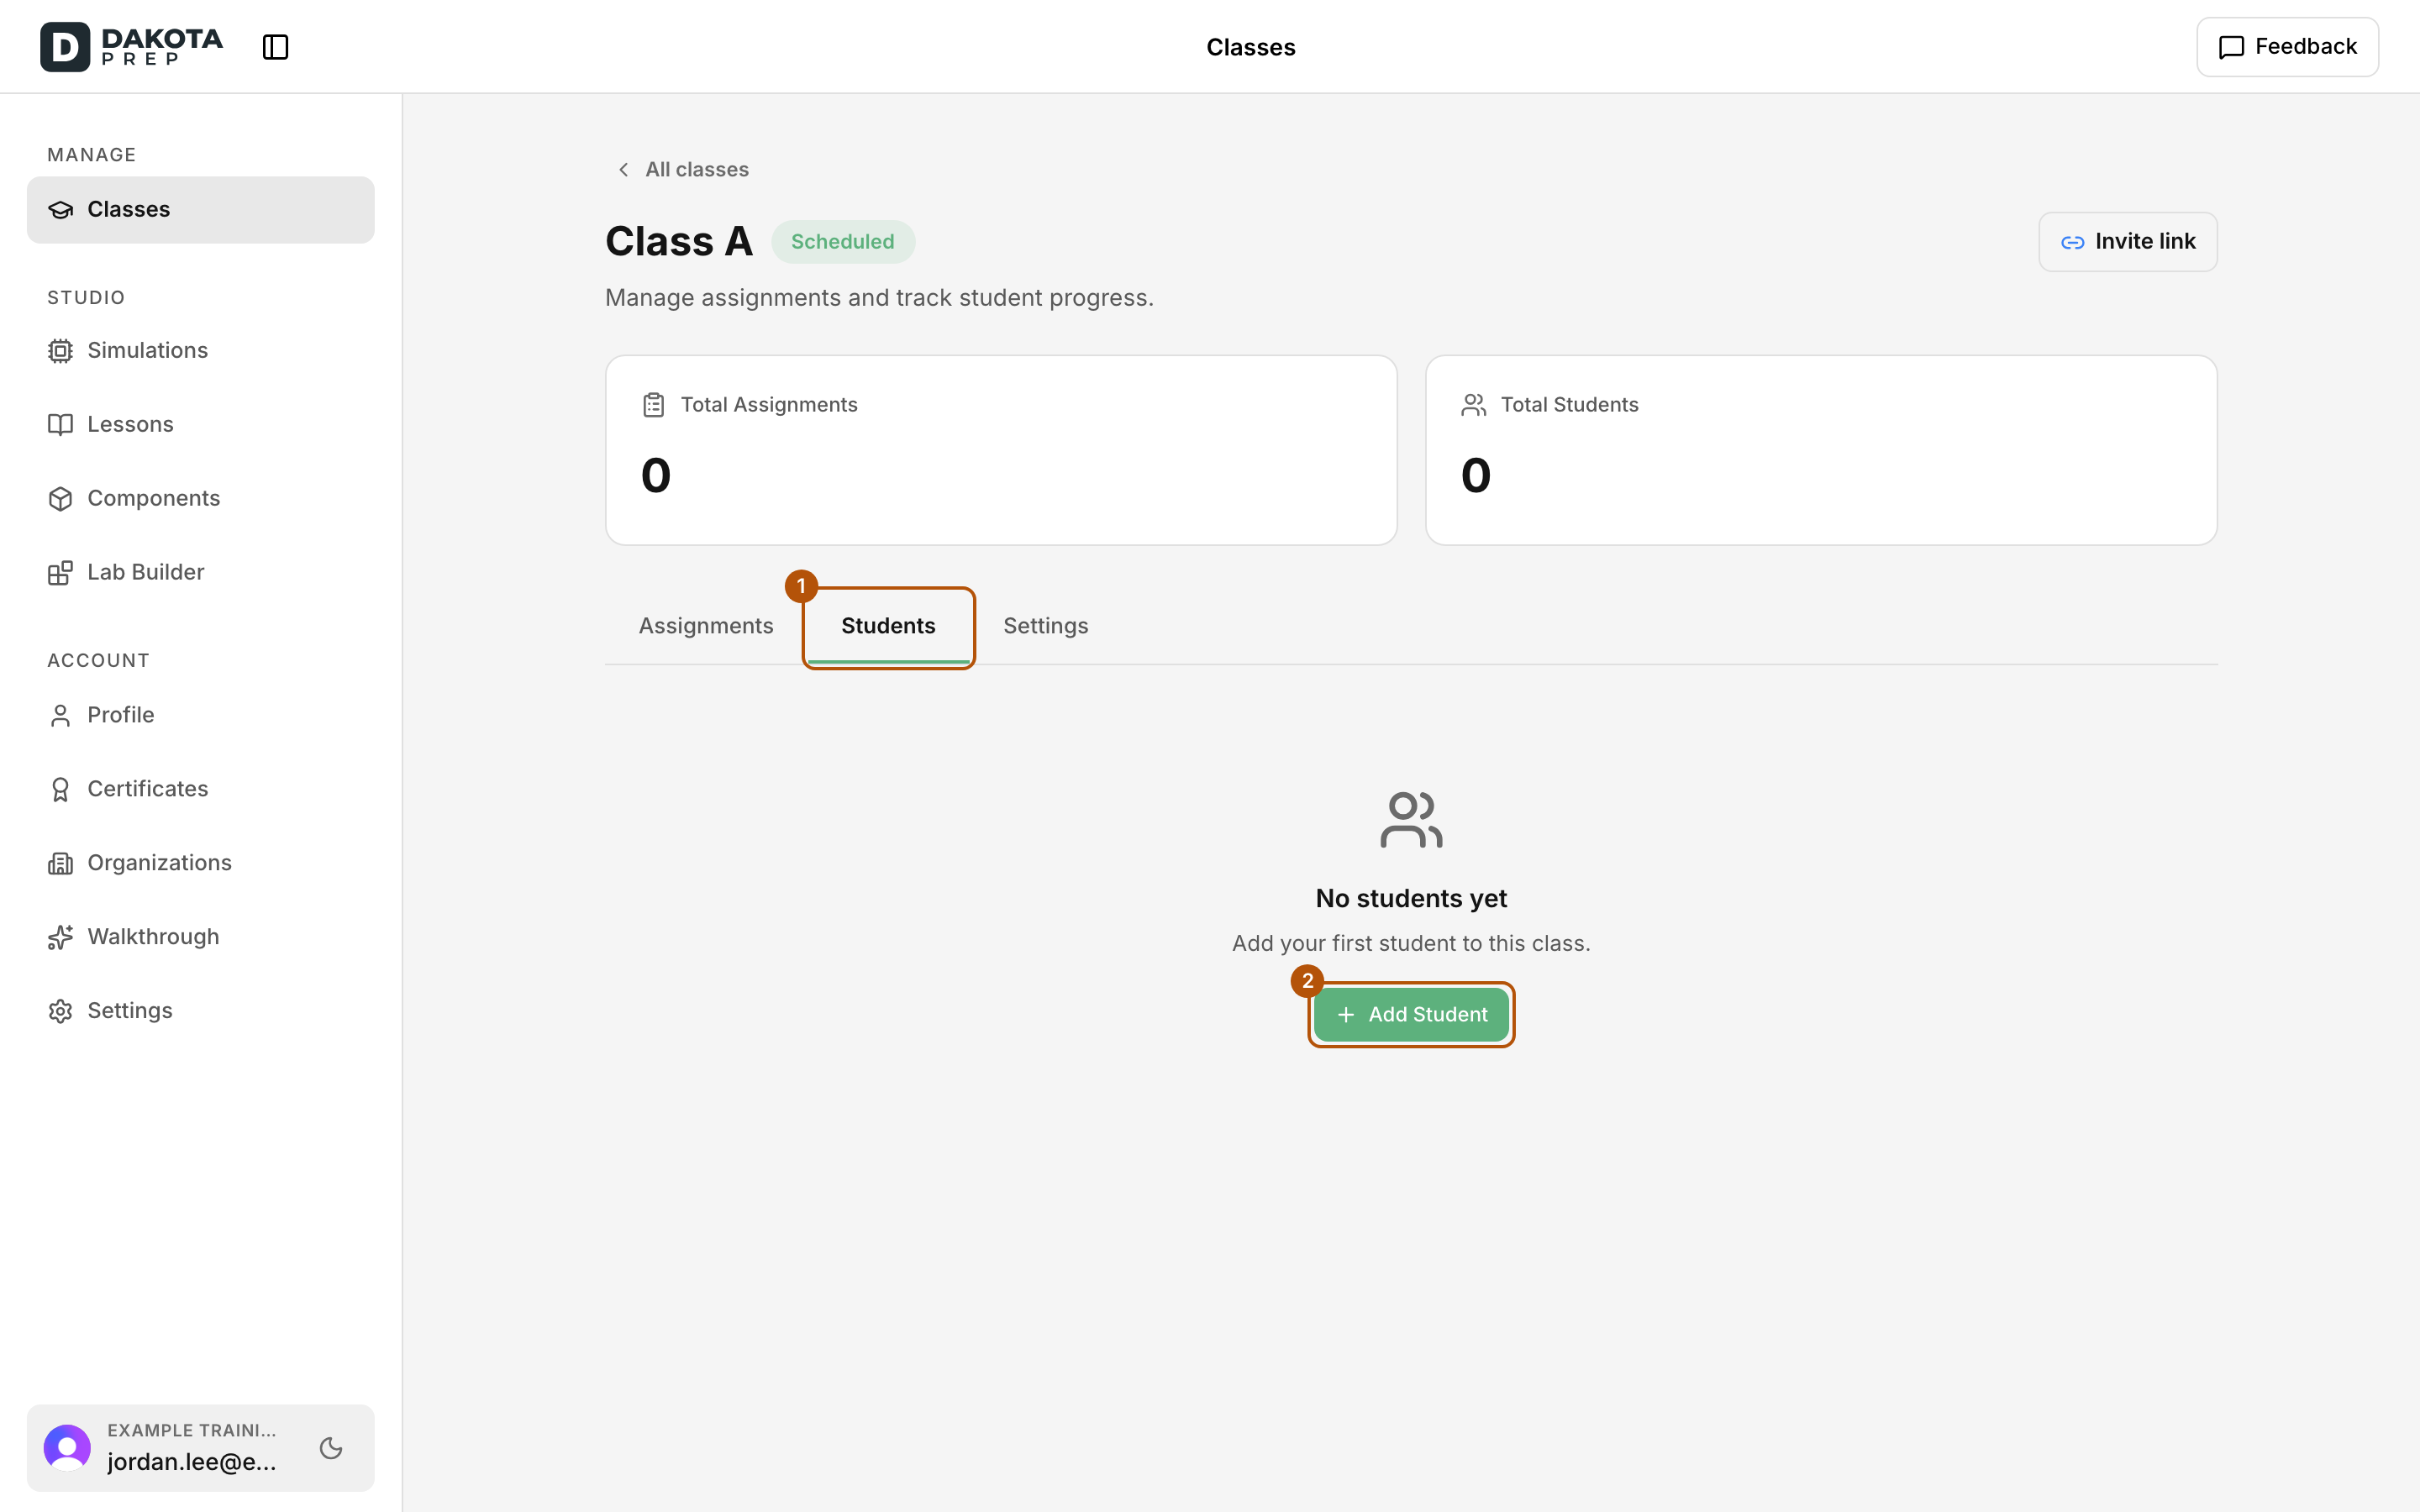
Open the Students tab and choose Add Student. -
Paste the email addresses, one per line or separated by commas, for example student@example.com. You can add up to 100 at a time.
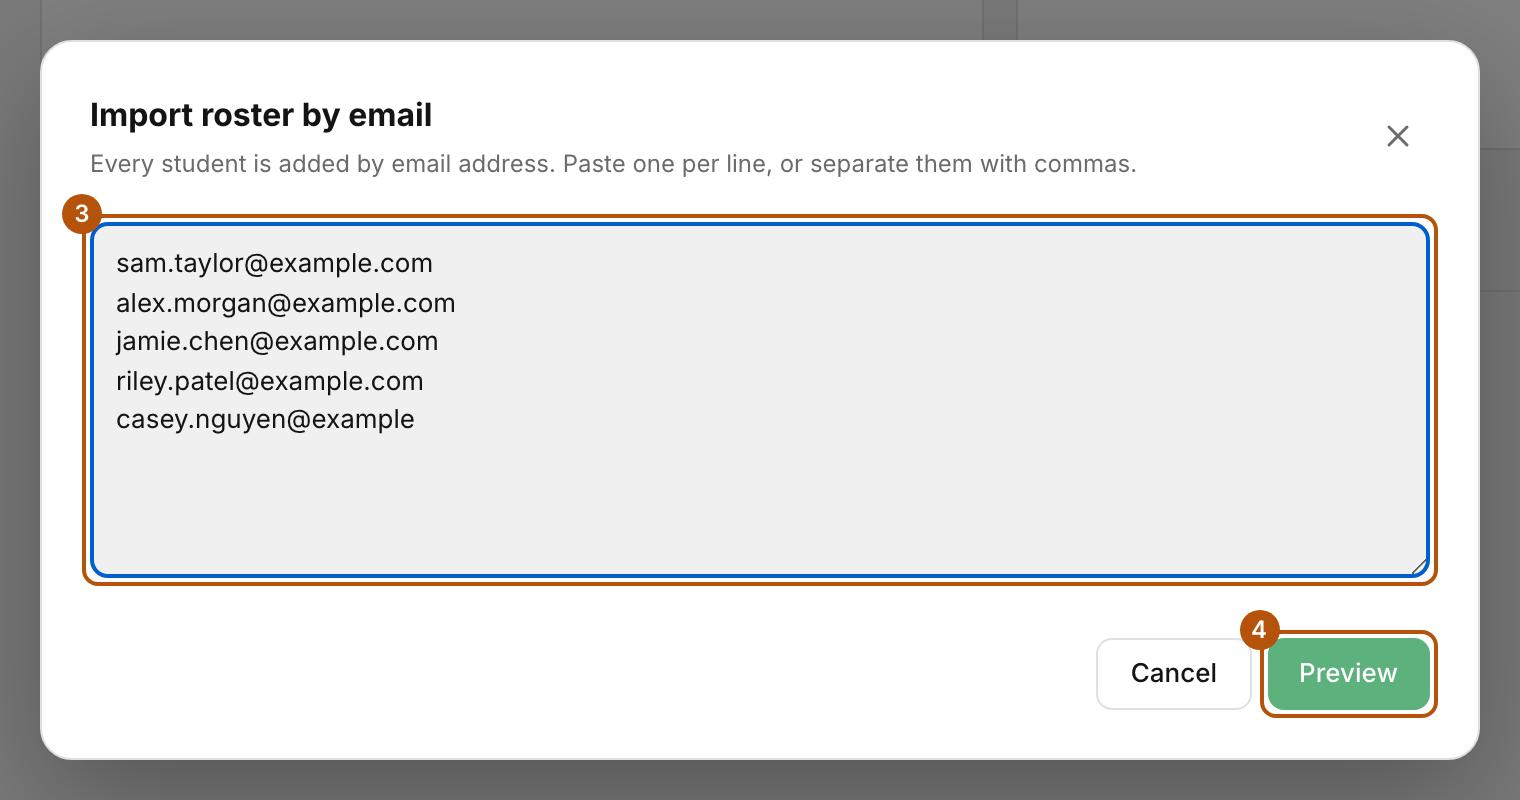
Paste the email addresses, one per line or separated by commas, then choose Preview. -
Choose Preview. Each address shows a status:
- matched: this person already has a Dakota Labs account.
- new: no account yet. The student joins your class when they sign up with this email.
- duplicate: already in this class.
- invalid: not a usable email address. Fix it in place, or untick it.
-
If the class already has published assignments, Assign existing work lists them. Tick the ones these students should get. Unticked assignments stay hidden from them.
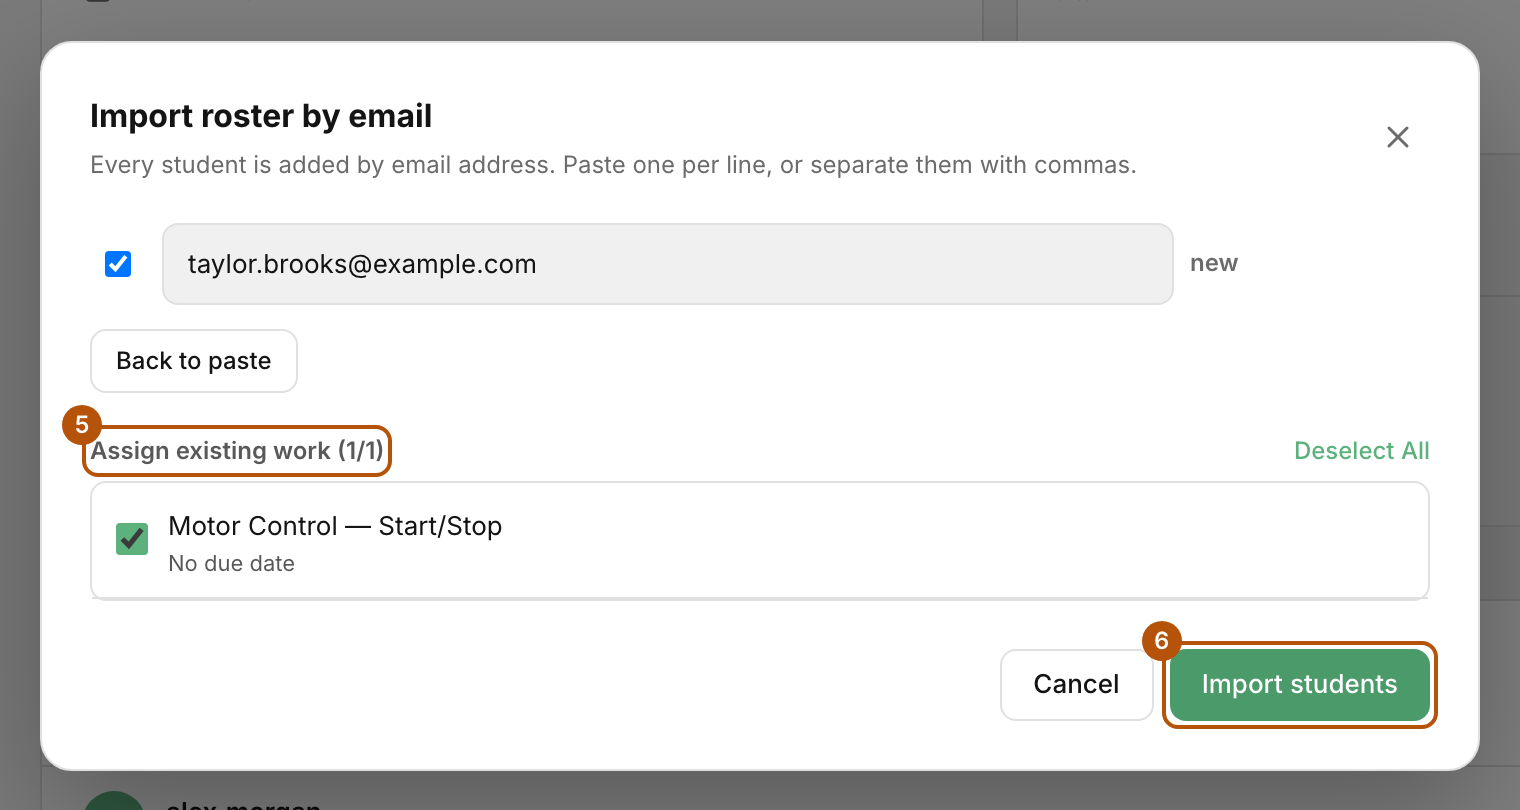
If the class already has published work, tick the assignments the new students should get. -
Choose Import students.
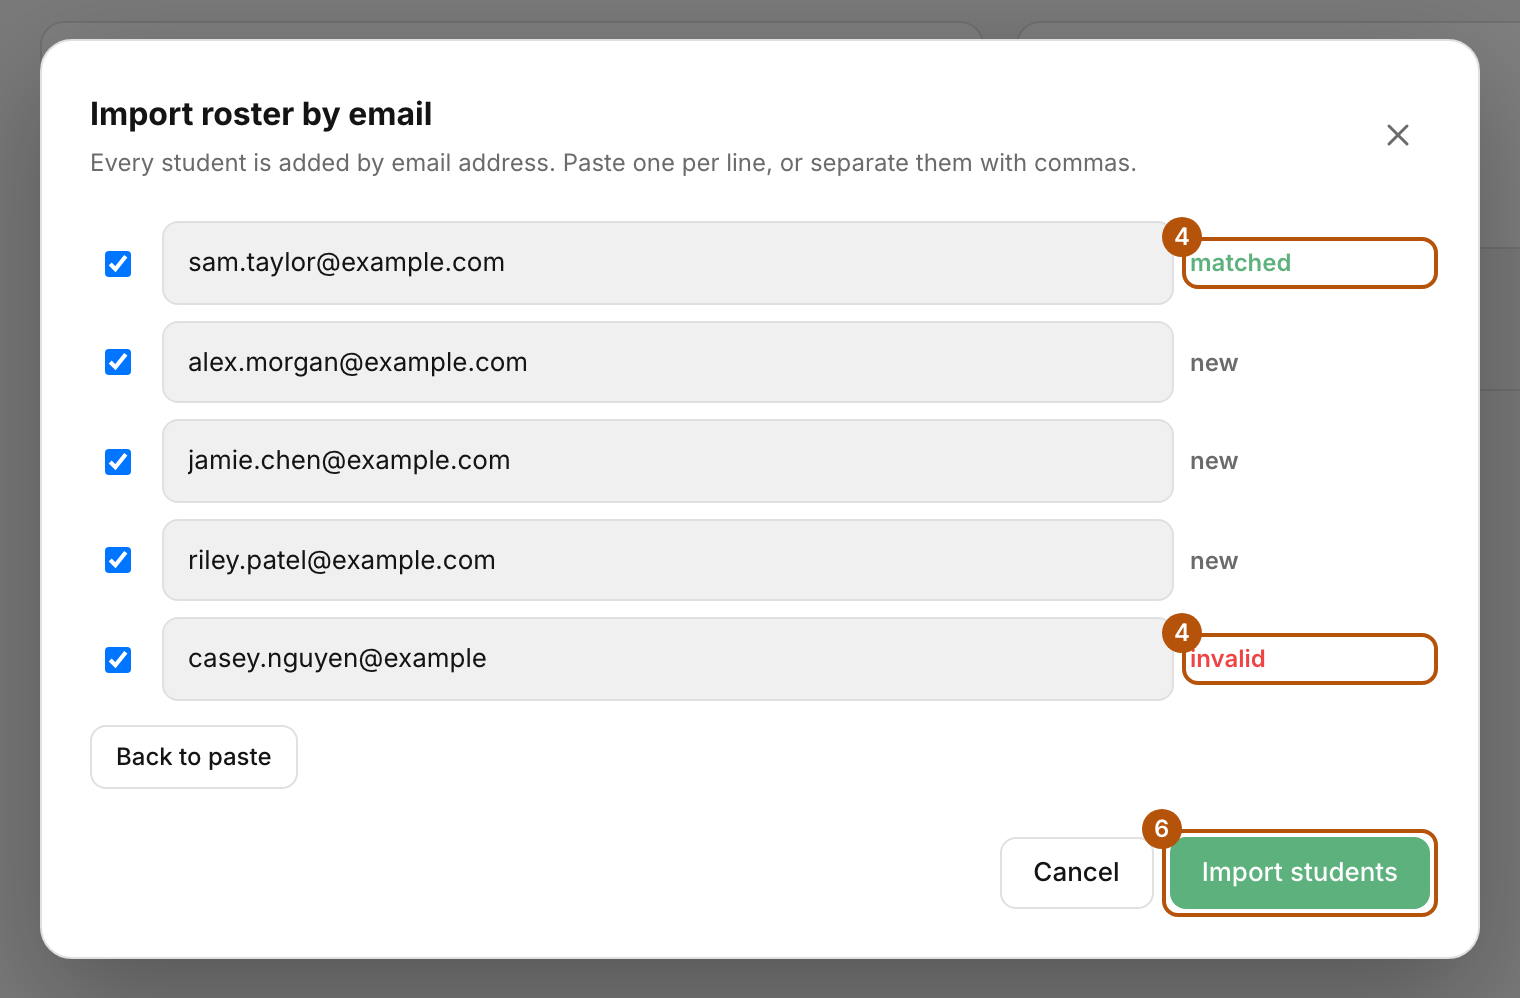
Check each address's status. Fix or untick anything marked invalid, then choose Import students.
Share the class invite link
-
In the class header, choose Invite link.
-
Choose Copy and send the link to your students. Anyone who opens it and signs in joins this class. They don’t need a code, and the link doesn’t expire.
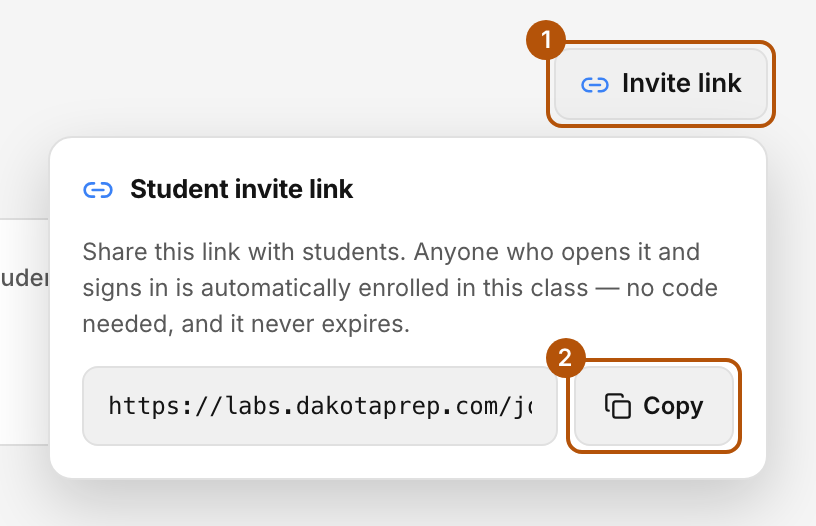
Choose Invite link, then Copy, and send the link to your students.
Common problems
- A student says they can’t see the class. They probably signed in with a different email address. Ask them to sign out and sign in with the address you entered, or add their other address.
- “Imports are limited to 100 students at a time.” Split the list into smaller batches.
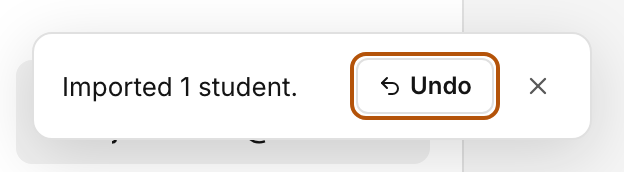
- I imported the wrong list. Choose Undo on the message that appears after the import. It stays on screen for about 12 seconds. If some of those students have already started work, Dakota asks before removing them, and their work is kept.
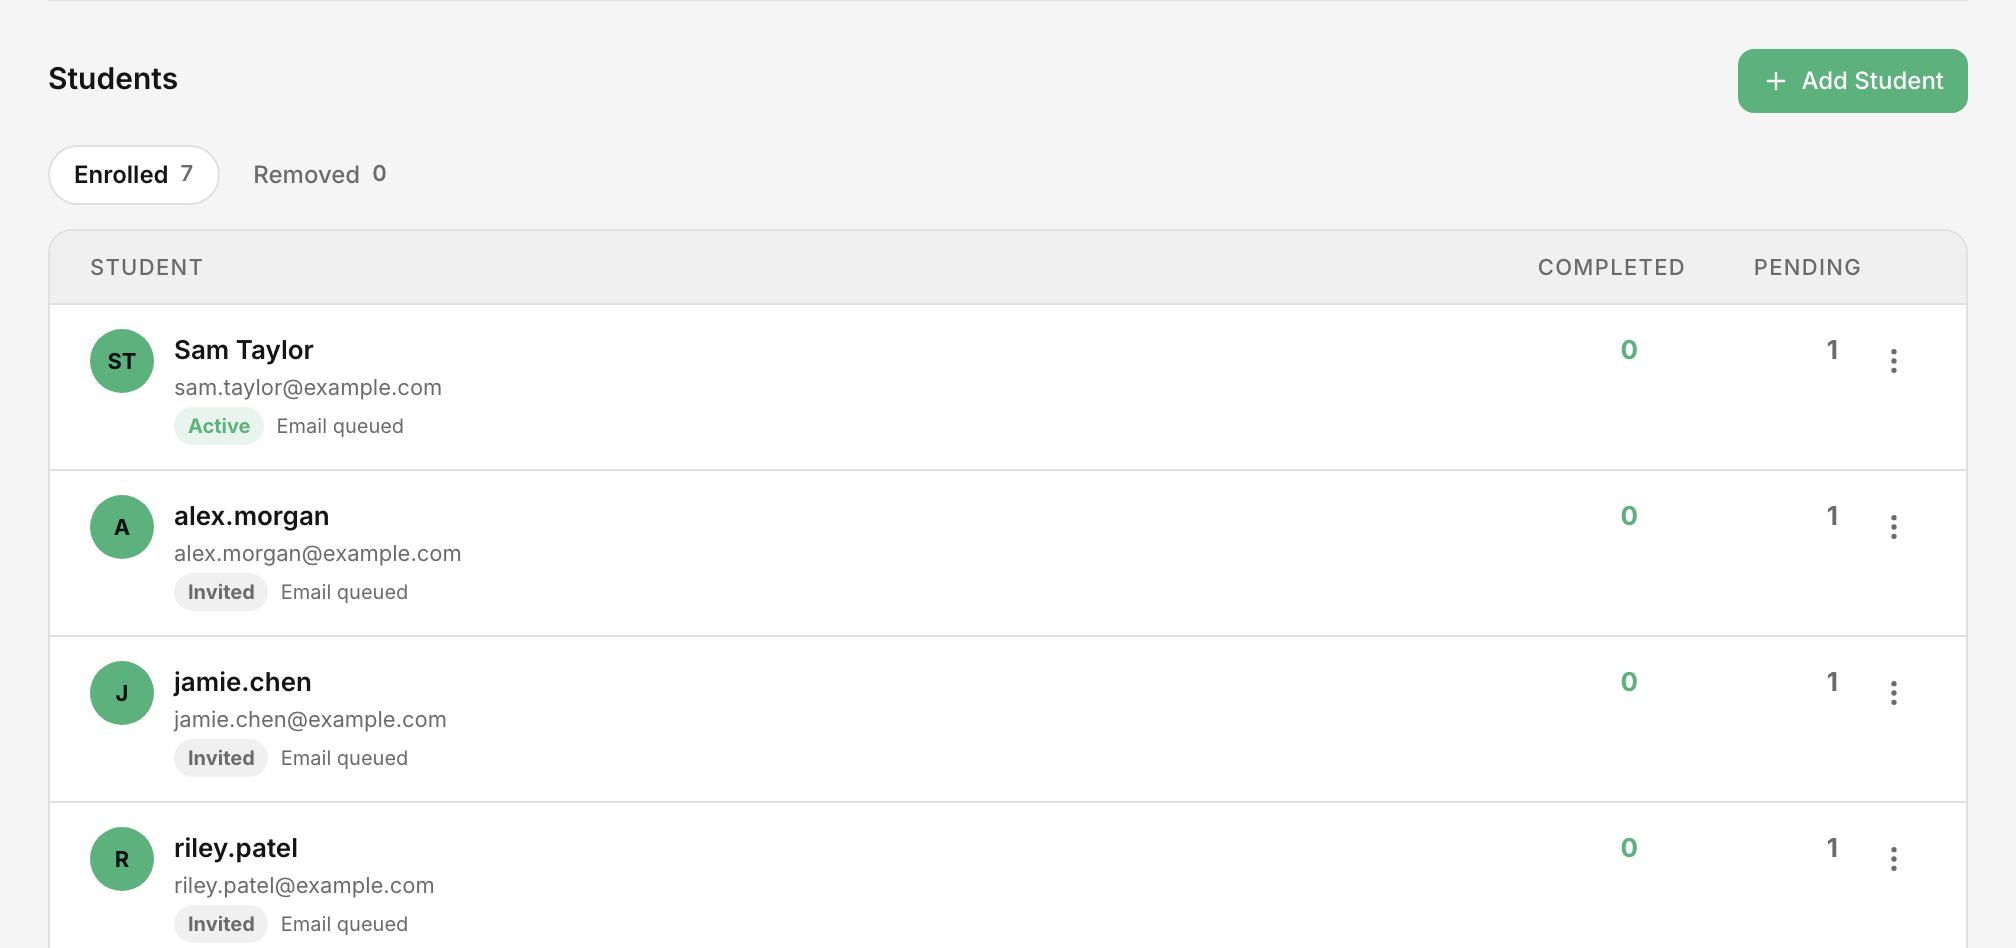
- I need to remove a student. On the Students tab, open the menu (three dots) on their row and choose Remove from class, then confirm. They appear under Removed, and you can invite them again later.
- I want to take one assignment away from one student. Open the assignment, open the student’s row and choose Unassign. See How do I see a student’s work?
- Your students use Moodle. Being enrolled in Moodle doesn’t add them here. Add them by their Moodle email. See How do I connect my Moodle course to a Dakota class?